Maat van Uitert shares great ideas and practical plans for protecting your ducks from summer heat with an easy-to-wash, self-draining pond.
Easing Summer Stress
Nothing is worse than watching your beloved ducks pant in the summer heat. A cool, inviting pool is a simple, natural way to keep your feathered friends from feeling the effects of heat stress.
Benefits of a Clean Pond
During southern Missouri summers, temperatures on our farm can stay well above 100 degrees Fahrenheit for several days. Our ducks spend most of the summer sitting in any pool of water they can find. But free-range ducks aren’t safe from coyotes, eagles, and other predators, so we try to keep them in a run as much as possible.
To prepare for the heat and to keep our ducks cool while also ensuring their safety, we’ve upgraded our duck habitat by installing an attractive and easily drained pond. While you might be tempted to skip the step of adding a drain to your duck pond, please don’t. Ducks are very messy, and will muddy up the water in just a few minutes. Stagnant and dirty water attracts algae, mosquitoes, and other possibly harmful organisms to your ducks. While our web-footed friends love the water, no matter how dirty, you and your neighbors won’t love the smells from an algae-ridden, possibly septic pond, and a constantly damp duck run. Cleaning the pool consistently is crucial to the health of your flock. It’s also a plus for your garden, as you can reroute the nitrogen-rich muck to your garden or compost pile.
Pond Basics
Think about the type of pool you’d like to use: kiddie pool, large rubber stock tank, dug pond, or go all out and build them a deluxe pond, made from a prefabricated liner, fit for a king. You can then use these inexpensive plans to make sure your pond drains easily and shunts water away from your duck habitat.
Materials and Tools
For this DIY duck pond, you’ll need:
- Hacksaw to cut the PVC pipes
- Utility knife, carpet knife, or other sharp knife, or a drill with a 1-inch bit
- Shovel
Parts List:
- (1) Plastic pond liner (we got ours for $40 at Home Depot)
- (1) 1.5-inch-diameter PVC shut-off valve
- (1) 1.5-inch-diameter PVC coupling with threaded male end
- (1) 1.5-inch-diameter PVC coupling with threaded female end
- Waterproof silicone sealer
- PVC cement
- (1) 1.5-inch PVC pipe
- (1) Cinder block to raise the pond
The shut-off valve, couplings, PVC pipe, and cinder block totaled about $20 at our local hardware store.
Instructions
1. Cut a hole in the pond liner.
We chose an attractive hard-plastic pond liner that was already molded into shape. It’s about 18 inches deep with varying levels of depth, and 3 feet across. You can find these at most big hardware stores. These prefabricated liners make it easy to create an attractive area without a ton of effort.
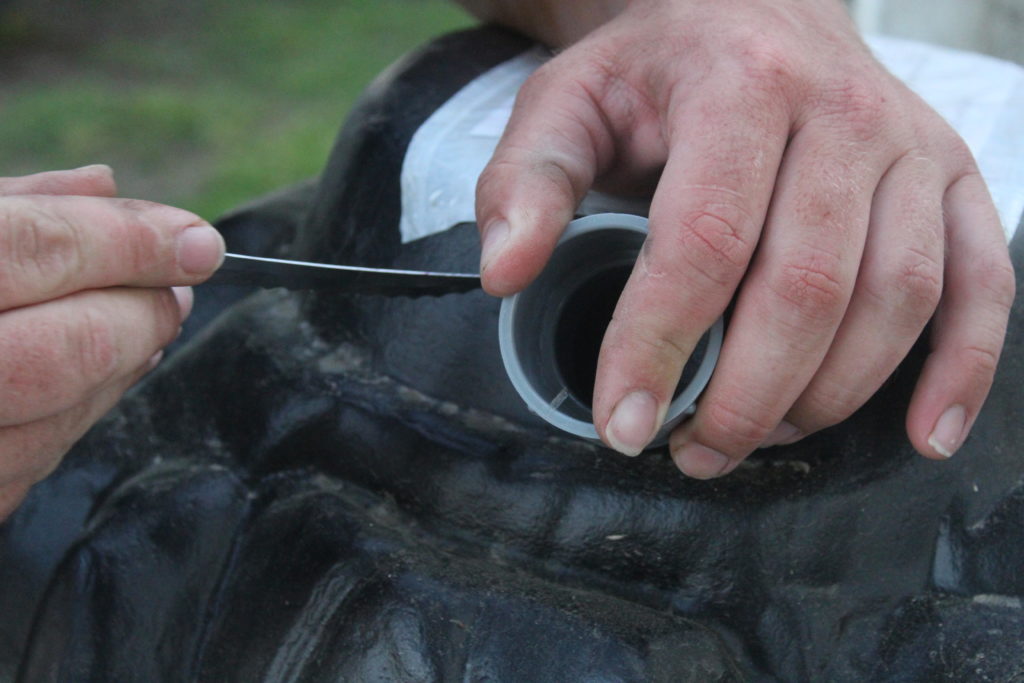
When cutting the pond liner, create a hole in the bottom of the liner, close to the outer edge that’s the same size as the couplings. This is where the water will drain from the pond.
To accomplish this, we first traced the inside edge of the coupling to ensure we cut the gap to the correct size. You can use a utility knife, carpet knife, or drill with a 1-inch bit. Because our liner wasn’t very hard, and we didn’t want to crack it, we used a sharp knife. Using this tool also allowed us to shave off small portions of the liner so the coupling fit snugly. Go slowly, and just shave off bits at a time.
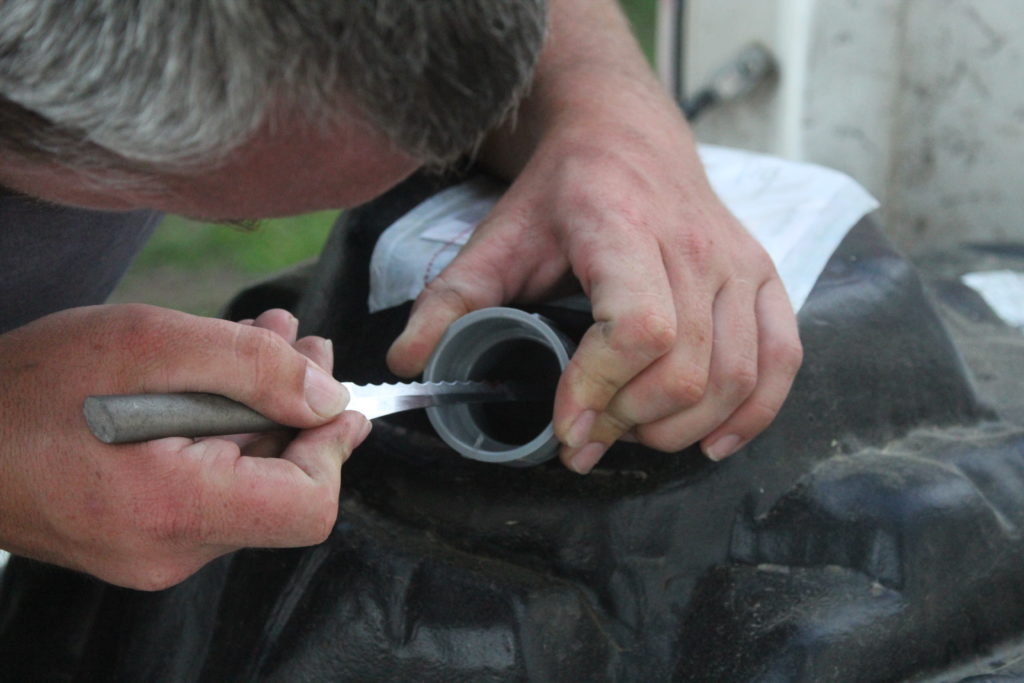
If your pond liner is hard, then a drill with a 1-inch bit is best. Once the hole is created, you can slowly shave off portions of the liner until the couplings fit tightly into the opening.
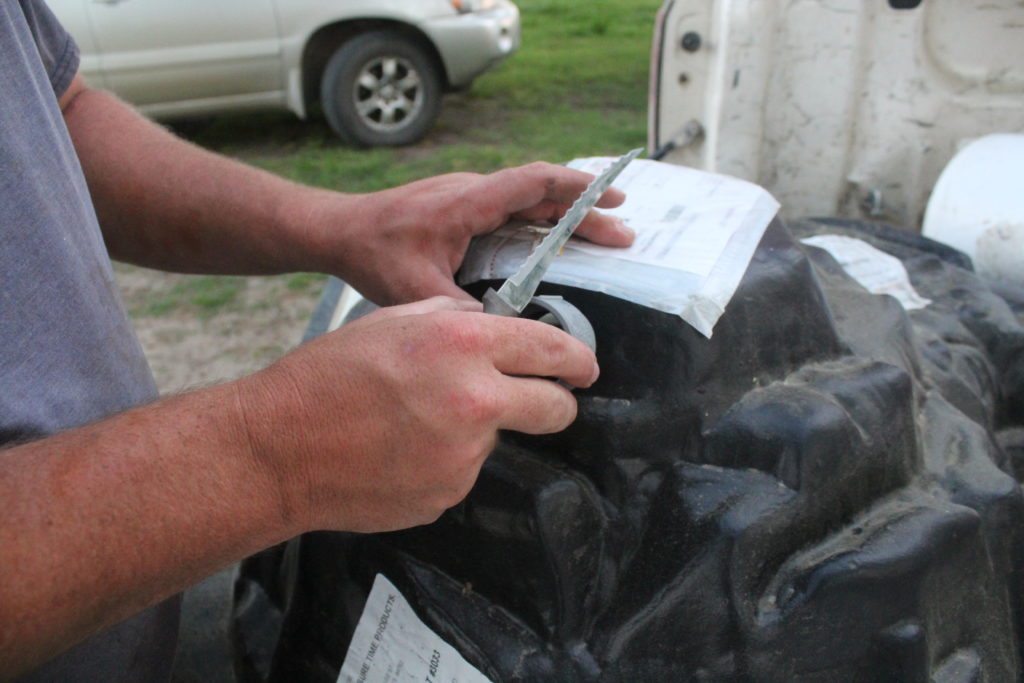
2. Fit male and female couplings around the drainage gap.
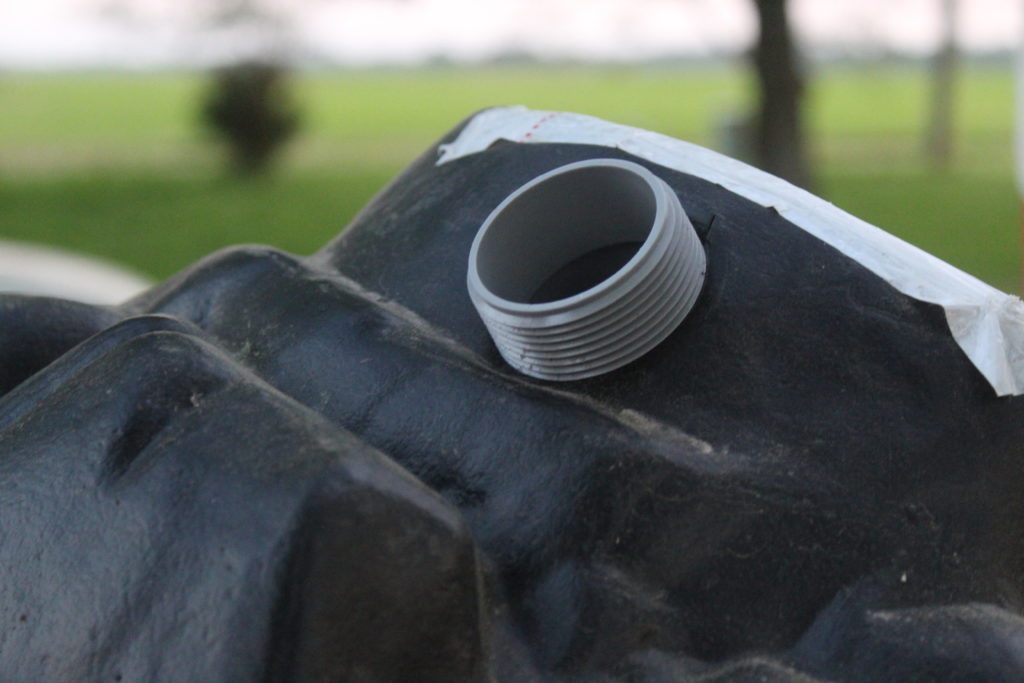
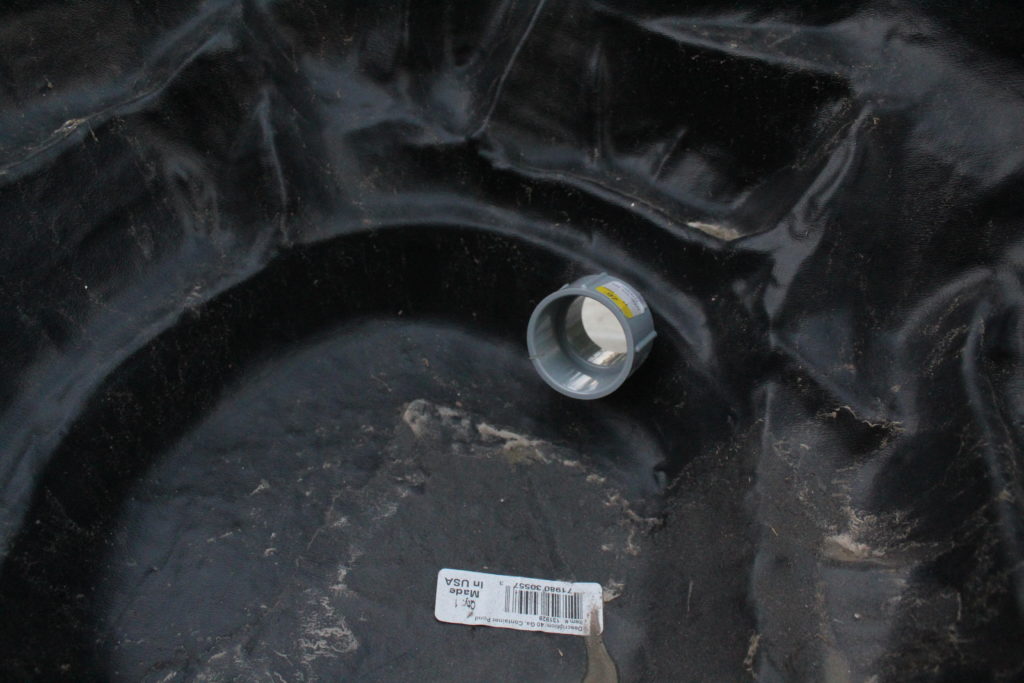
Once the hole is cut, install the male and female couplings. The male coupling goes on the inside of the pond, and the female coupling goes on the outside. Twist them together until they fit tightly. To ensure these fittings are watertight, use waterproof silicone sealant around the edges of the hole where the PVC couplings go through it.
3. Place and level the pond.
Because you want the pool to drain easily by using gravity, place the pond on the highest ground in your duck habitat. In our run, we don’t have a naturally high spot, so we had to create one by mounding up lots of earth and tamping it down firmly. Because the bottom of the pond wasn’t evenly flat, we placed the cinderblock on one end to support the liner, and then placed dirt around the other end to level the pool.

4. Trim the PVC pipe.
PVC pipes are usually sold in 10- or 12-foot lengths. If you want your drainage area more than 10 feet away from your pond, you can easily extend it with an additional coupler and an extra 10-foot PVC pipe. Just remember that a shorter pipe will drain better because it requires less water pressure.
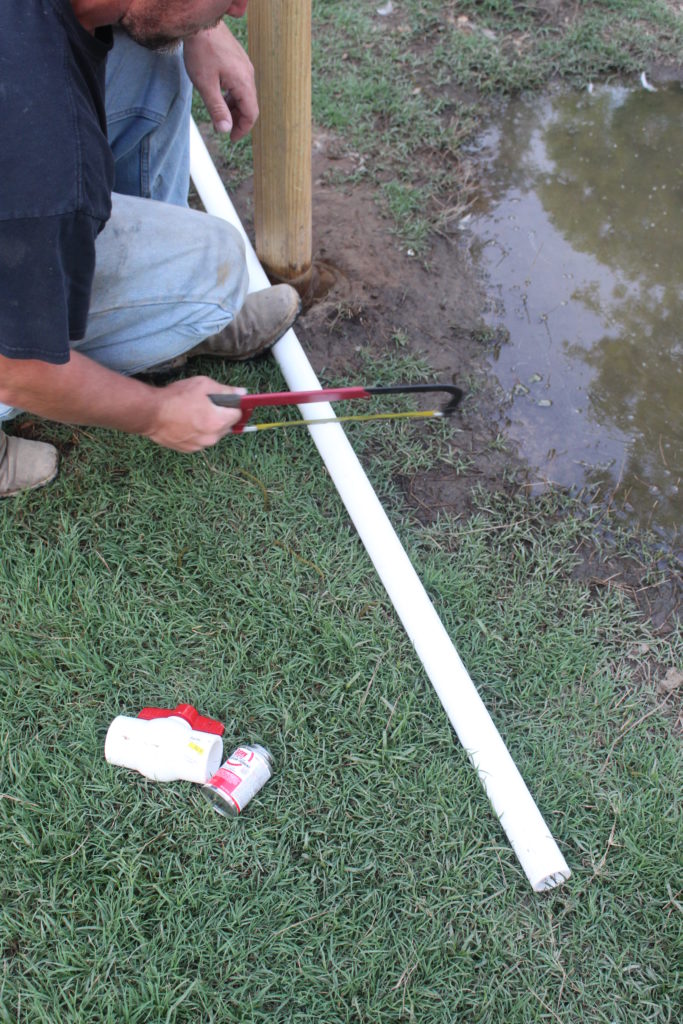
If you want to drain your pond less than 10 feet from your run, you’ll need to cut down a 10-foot length of pipe. The easiest way to accomplish this is with a hacksaw. In our case, we wanted to drain the dirty pond water into my herb garden, so we cut the pipe to a length of 8 feet.
5. Seal the PVC pipes.
To create a watertight seal and to protect the drainage pipe from breaking, you’ll want to cement the PVC pipe into the couplings to join them permanently. This will give you a tight seal that’ll prevent leaks, and preserve your work.
Using your gloved hand or a popsicle stick (or the wand that sometimes comes with the cement) smear cement on the PVC pipe, and insert it into the open end of the male coupling as it comes out of the hole in your pond. The cement will take a few minutes to dry.
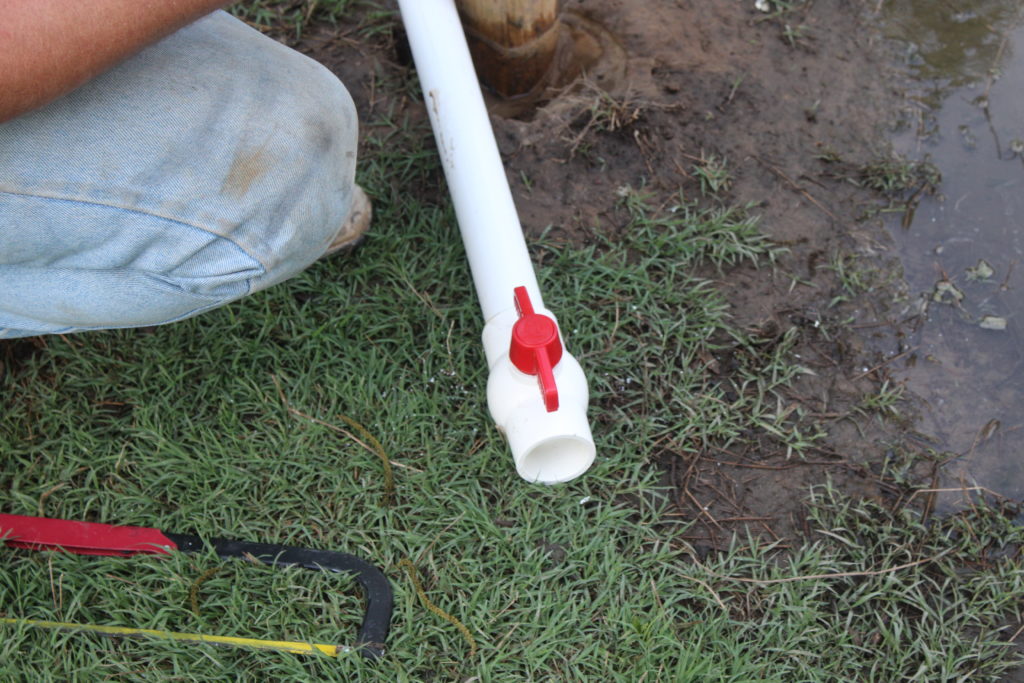
Once the pipe is solidly attached to the couplings, you’ll want to add the shut-off valve to the other end of the pipe. This will allow you to drain the pond whenever you want. Just like with the couplings, you’ll want to smear PVC cement on the pipe, then fit it into the shut-off valve, and allow the cement to dry.
6. Add dirt around the pond so ducks can access it.
We happened to have a large pile of excess dirt on our farm, so we transported it to the duck run to place around the prefabricated pond liner. Alternatively, if you have a naturally higher area in your yard, you could sink the pool into the ground, and then dig a ditch to install the drainage system.
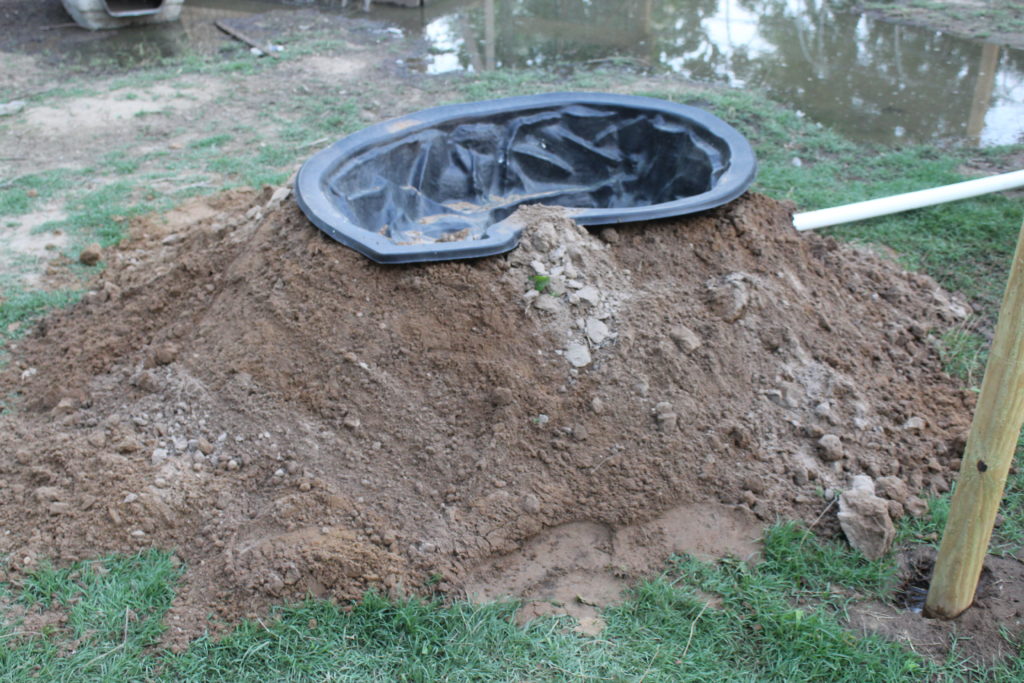
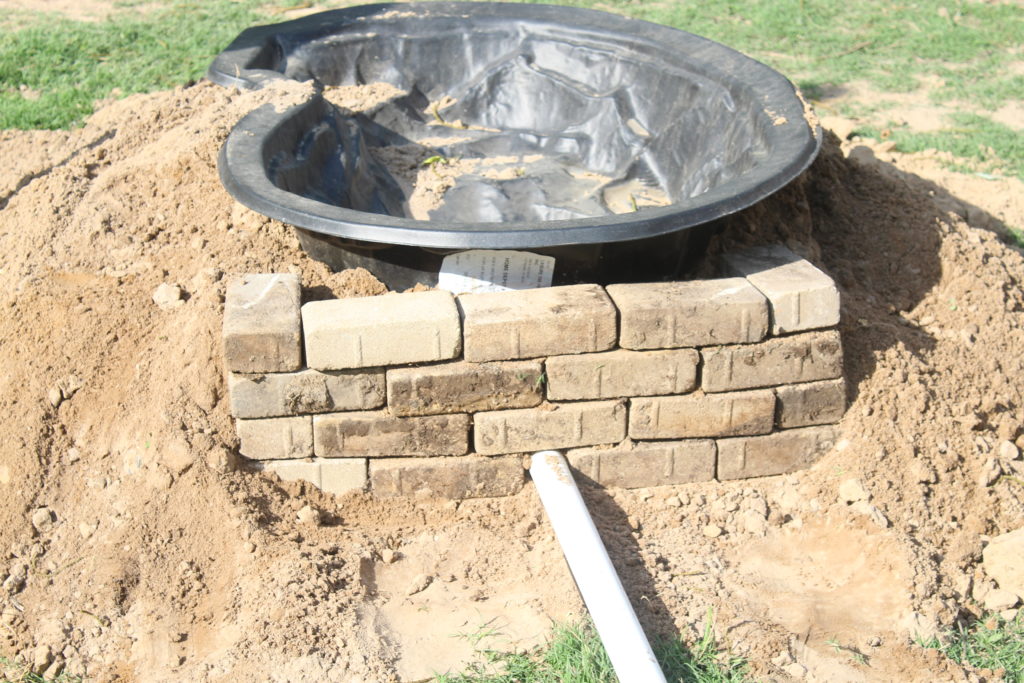
Using a shovel, we simply mounded dirt around the liner until the bottom was no longer visible. We made sure to add enough dirt and a gentle enough slope so the ducks could easily climb into the pond and play in the water.
Because the liner and mound are essentially above ground, we wanted to make it more attractive. We installed a retaining wall around the drainage hole using some bricks we already had and used extra dirt to hold them in place.
7. Fill the pond.
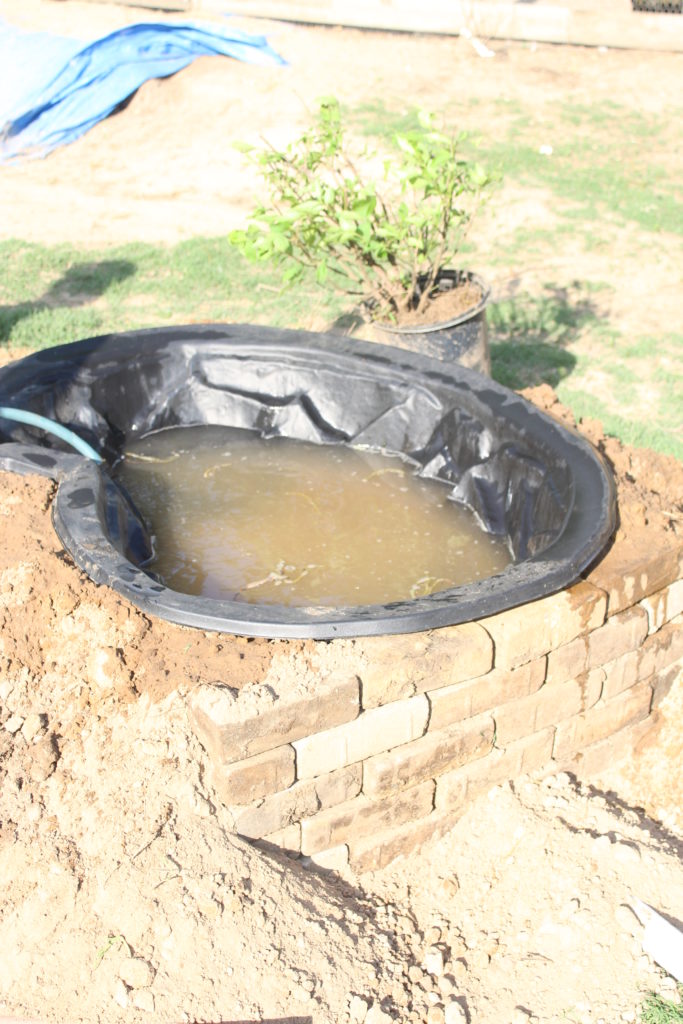
You’ll need to partially fill the pond to test the seal around the hole and couplings and all the pipe linkages. If you do spot some drips, or the water level starts to lower, you’ll need to determine where the leak is. Drain the pool and dry off any leaking area. Spread silicone sealant around the pipe connections and allow it to dry fully. Then, test the pond again. If it doesn’t look like the water is leaking, your pool is complete!
8. Cover the PVC pipe with dirt to hide it (optional).
If your drainage system is above ground, you can mound dirt on top of the PVC pipe to disguise it. Remember to leave the shut-off valve uncovered so you can access it. If desired, you could use a valve box to hide it.
9. Add plants and environmental interest to the pond.
Once you’re sure the pond isn’t leaking and it’s stable, you can start adding plants around it to provide extra shade for your ducks. Bushy plants are best. Herbs, such as lemon balm, lemongrass, and boxwood basil, are some attractive options. For fruiting plants, mulberry and blueberry bushes are two ideas. You might find that your ducks love laying their eggs around these plants!
You can also add pond lilies or other floating plants to your duck pond. If it’s big enough, you can even add fish!
Final Things to Consider
If your ducks aren’t sure what to make of their new pond and aren’t using it, don’t despair. It can take ducks some time to get used to new ideas. Try tossing some treats into the water. Dried river shrimp are one option. They float, and are irresistible to ducks. You’ll soon see your web-footed friends diving right in!
If you want to add rocks around the pool, use only flat rocks, such as flagstones, and leave some dirt areas intact to grow grass. Stones radiate heat from the sun, and ducks are particularly susceptible to bumblefoot, scrapes, burns, and other health problems with their webbed feet, so they should have soft, cool areas to walk.
To wash your pond, simply allow it to drain, and then use a hose with good pressure to sweep out any dirt, grime, poop, or other nasty bits. Once it’s clean, shut the valve off so the system is watertight again.
And there you have it! A fun, attractive duck pond that’ll keep your flock cool all summer long!
*********
Maat van Uitert is the founder of the backyard chicken and duck blog, Pampered Chicken Mama, which reaches approximately 20 million backyard poultry enthusiasts every month. She’s also the founder of the Living the Good Life With Backyard Chickens store, which carries nesting herbs, feed, and treats for chickens and ducks. You can catch up with Maat on Facebook and Instagram.


6 Comments
How often do you drain it in summer?
Oops just saw you answered that. Is there anything safe to add to the water to keep algae away? Thanks!
Hi – I’m the author. I empty it pretty much every day because mine get it really dirty. If yours don’t, then every 4-5 days should be ok, as long as no algae or pond scum has formed. If that happens, you can empty it and scrub it clean with a toilet brush or other scrub brush (specifically set aside for this purpose – not the one you use in your home), and then refill. Hope this helps!
This is exactly what I have been looking for!! I currently use a small kiddie pool that I dump everyday for my 5 ducks which is good, but I was wanting something a little bit deeper so they could really play as they love to do!! I was wondering, how often you have to empty and clean it? I currently dump my kiddie pool everyday and was thinking maybe this would last more than one day? Again, thanks so much for posting, love it!!
I believe there is a slight error in the instructions. In the first part, it says that the female coupling goes on the inside, with the male coupling on the outside. Later, it says to attach the PVC to the female coupling that is on the outside.
You are absolutely correct!! Thank you for pointing this out.