Please fence me in! Great advice from carpenter Frank Hyman about how to set posts. Photos by author.
There’s a little bit of an art to setting posts for a pen. Okay, it’s very little art. Nonetheless, I’m particular about setting posts. I live in fear of my work looking like some fence lines I’ve seen. After a few years, the posts are leaning all helter-skelter. And they’re impossible to fix without digging up each post. Fence lines that aren’t sweet and straight bother me too. It’s true that you can plant more crops in a crooked row than in a straight one, but there’s no benefit from a fence line that’s crooked.
These raggedy, crooked fence lines littering the town and countryside could’ve been prevented with judicious use of a taught string, which always makes a straight line. And leaning posts can be prevented with judicious use of concrete in the posthole. So, here’s how to set posts for your hen pen that won’t embarrass you in years to come.
What kind of posts to use?
We wanted a rustic look for our hen habitat, so we used unpeeled eastern red cedar logs. I picked up the cedar at a lumber yard out in the boondocks. Depending on your location, you may be able to get redwood, cypress, black locust, or white cedar posts, which are all naturally rot-resistant woods. Depending on conditions, these posts will last from 15 to 25 years. The drier your weather, the longer they’ll last. Choose the posts with the most heartwood; they’ll last longer. Post with lots of light-colored sapwood will rot away in a few years.

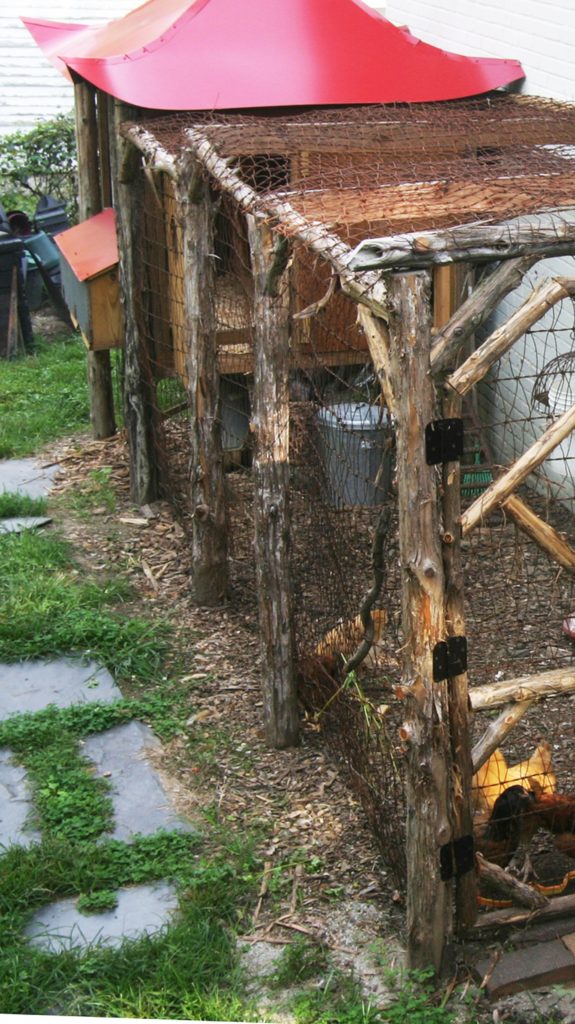
We could’ve saved money by setting the posts for the hen pen 7 feet apart, but by setting them 5 feet apart, they matched the spacing of the corner posts on the coop, visually tying the two structures together.
You can get longer-lasting fence posts — and they can be delivered, unlike most lumber yards — if you buy pressure-treated posts from your local building materials supplier. These posts should last as long as 40 years. They’re 4-by-4-inches thick and 8 feet long.
What is “Pressure-treated”?
The term “pressure-treated” means that the wood has been banded together into a bundle and put into a chamber filled with chemicals that resist rot and termites. When the atmospheric pressure in the chamber gets boosted, the chemicals penetrate the wood, adding the kind of artificial preservative that cedar, cypress, and other rot-resistant heartwoods naturally contain. In the old days, the chemicals included highly toxic products, such as arsenic and chromium.
Today’s Safe Materials
When I started my landscape construction business in the early ’90s, I didn’t want to use anything that toxic, so I drove a couple of hours to buy from a vendor who switched to a much safer formulation called “ACQ.” It simply had lots of copper as a fungicide (the same safe material that your water pipes are made of). And ACQ stops termites with a mild chemical called “quaternary ammonium” that’s used as a disinfectant in safe kitchen products, such as 409 Spray Cleaner. You wouldn’t drink it, but the little that might leach into the soil is about a mile down the list from the heights of toxicity that arsenic and chromium occupy. Fortunately, the Environmental Protection Agency hasn’t allowed the use of arsenic and chromium in pressure-treated wood since 2003, so you can now buy safe ACQ or comparable lumber at any construction supply house.
Tools for setting posts
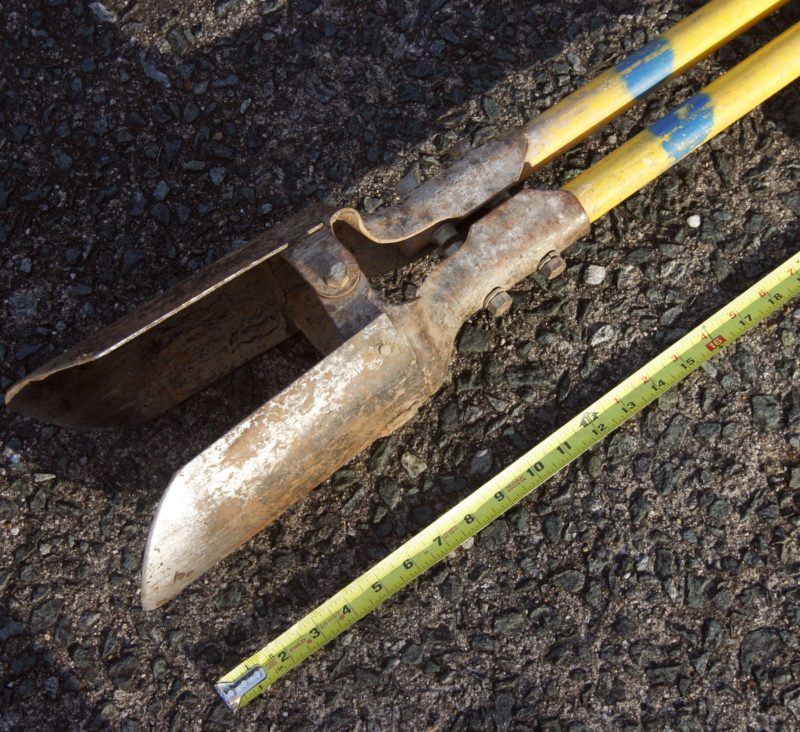
You won’t have to go back to school, but you will need to get a PHD (posthole digger). Make a mark on the handles (in paint or tape) so that you can see when the hole is about 18 inches deep. Get one plastic or metal tray (a wheelbarrow will do in a pinch) to mix the concrete in. Buy a hoe to mix the concrete. (A garden hoe will work, but a concrete mixing hoe with a couple of holes in the blade is moderately better.) Choose a shovel to drop the concrete into the posthole. (A narrow-bladed transplanting shovel, called a “sharp-shooter,” works best for me.)

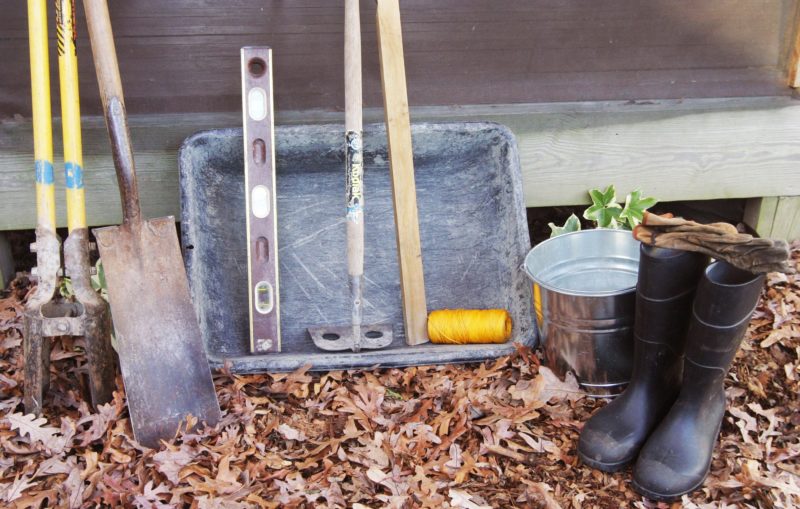
A post-setting tool set, from left to right: PHD’s (post-hole-diggers), a sharp shooter transplant shovel for shooting concrete into the hole, a plastic tray for mixing concrete, a 2-foot level, a concrete-mixing hoe, a 1-by-inch tamping stick, string, a bucket for measuring water, gloves and muck boots (a must, if you’re a messy concrete mixer).
Scare up a skinny, 4-foot long board to pack the concrete in the hole. (A 1-by-2-inch or a 2-by-2-inch can work.) Use any kind of level—also called a “plumb stick”—so that you can set the posts upright; I like a small one that wraps around the post with a rubber band. Find a bucket with marks that show how many quarts of water to add to the dry concrete in the mixing tray. My plastic buckets have all eventually cracked, so now I use a 2-gallon metal bucket and drew marks to show the number of quarts it holds. And right after you’re done, hose down all the tools (in an out-of-the-way spot) so the concrete doesn’t set up on it. Tools are heavy enough without adding crusty concrete to them.
Spacing Posts
Figure out where your corner posts go, and dig them with the PHD. Sometimes, I drop the dirt from the postholes onto a tarp, a mixing tray, or into a wheelbarrow to make it easier to dispose of. After you’ve dug your corner postholes and set those posts (we’ll talk about that below), run a tight string about ankle-high so you can mark the positions of the intermediate posts and get them spaced right and exactly in line with the corner posts. That’s how you get a sweet, straight line of fence posts.

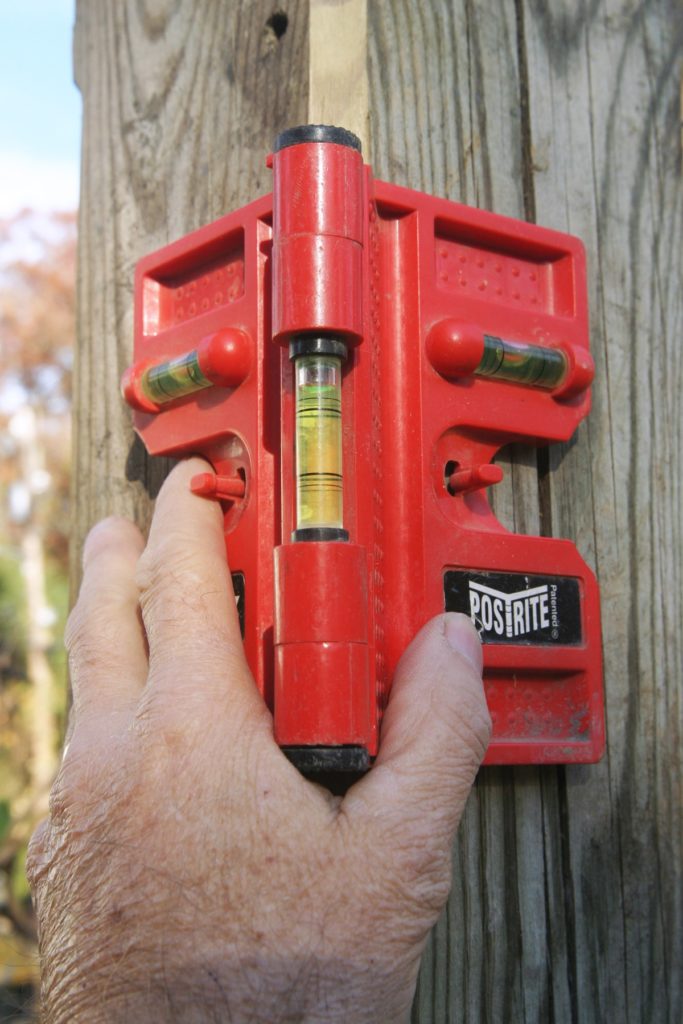
This handy gadget folds flat for storage and tells you if your post is plumb in both directions (north-south and east-west).
The distance between posts can vary. Most fence posts are set 8 feet apart, measured from center to center of each post, or from left side of one post to the left side of the other. That spacing allows you to use an 8-foot 2×4 as the stringer(s) between posts to support the fencing.
But if the distance of one side of your pen isn’t a multiple of eight (16-inch, 24-inch, etc.), then you can use your aesthetic judgment—or your budget—to decide on the best spacing. For example, if the length of the fence line is going to be 20 inches, you could set the posts a little bit less than 7 feet apart.
How Far Apart?
Or, you can do as I did and set my posts 5 feet apart on a 20-inch fence line. I did this because the corner posts for the coop would be 5 feet apart and made of unpeeled cedar trees trunks. The fence posts would be made from the same kind of wood, so I wanted to match that spacing for aesthetic reasons. This line of identical posts set with a rhythmic spacing between them ties the coop and pen together visually. But if saving money had been the priority, I would’ve set the posts almost 7 feet apart.
Setting Posts
Marking and digging the post-holes can be a one-person job. So can mixing the concrete and setting the posts. But it goes a lot faster and easier with two amiable people sharing the work.

To avoid checking the depth of a posthole many times with a tape measure, use paint to make a mark 18 inches from the bottom of the digging blades so you’ll know when you’re deep enough.
Dig your hole with the PHD. Set a post in the hole resting on hard ground. Hold a level against the post to get it vertical in two directions: north-south and east-west. That’s called getting the post “plumb.”
Put the mixing tray a few feet from the post, and drop an 80–pound bag of concrete mix (probably with a brand name like Quikrete or Sakrete) into the tray with the directions face-up. After fully reading and understanding the mixing directions on the back of the bag, cut the bag across the middle with the shovel blade. Then, flip it over and empty it out as if it were an eggshell you’ve cracked to let the yolk and whites fall out.
Because of high or low humidity, the dry concrete may need a little more or a little less water than the instructions describe. So, poor about half the water in and use the hoe to mix the concrete. Add a little more water, and mix again until it’s thick and moist all the way through like bread dough. If it’s dry and crumbly or wet and runny, it won’t set hard enough to hold the post upright over time. You can always add a little more water, but you can’t take any out, so add small amounts of water as needed until you get the right consistency. If it does get too runny, add a shovelful of dry mix from another bag. This mixing step is well worth doing slowly to get the consistency right. After you’ve mixed it right once, it’ll be much easier the next time.
With the post person holding the post plumb, the concrete person can scoop up concrete with the sharpshooter shovel and carefully drop it in on all four sides of the post. As the concrete fills the gaps in the posthole, the post person will use the skinny board to pack it down and eliminate air pockets with one hand while keeping the post in place with the other. Fill the hole until the concrete is just above soil level, and smooth it off with the flat surface of the hoe or shovel so that any rain will shed away from the post. The moist concrete will hold the posts upright until it sets; there’s no need for attaching supports to the post.
Granted, with your posts all set and in a straight line, no one will mistake you for an artist, but your fence line will still be a thing of beauty.
Frank Hyman has been a carpenter for almost 40 years, and he’s the author of the backyard DIY chicken book Hentopia.


3 Comments
Just a few questions:
1) Why only 18” down on the post hole digger marks?
My persistent digging predators have made it necessary to rat wall down 12×18” under the dirt line around my coop run using 2×8/10’s to attach wire.
2) Do you curve the cedar / black locust posts to the inside when, of courses they aren’t As straight as a 4×4 when you try to align the post?
3) Suggestion on disposal of the old Coop run posts (20+ yrs) that need replaced that were the old pressure treated?
Thanks for sharing your continued experience!
How do you keep 1 of your 3 hens from pooping in the nesting box?
Hi Donna,
Frankly, you don’t. Chickens poop where ever they want. We keep straw in the nesting boxes and switch it out every couple of days. The used straw either get put in the chicken yard, or onto the compost pile.