Want to add a little chicken to your Christmas? Check out the creative crafts that Community Chickens follower, Nila Jozann, has designed and crafted!
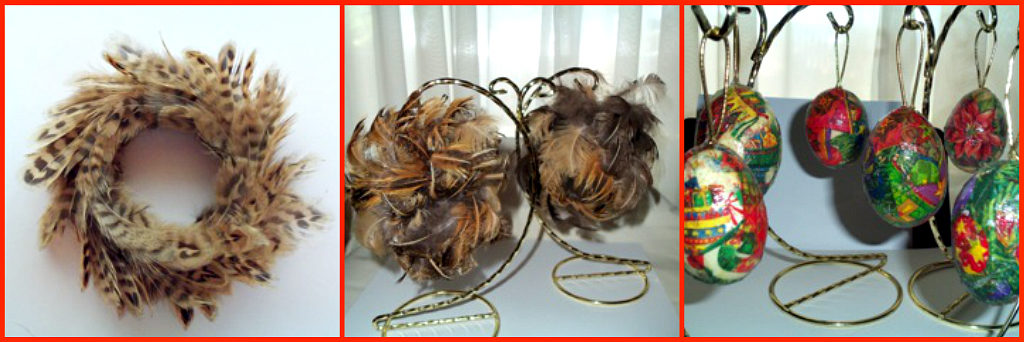
Continue reading as Nila shares the detailed instructions for you to make these unique wreaths and ornaments:
All of these crafts are inexpensive, but make quite an impact as I give to family and friends through the year. I make wreaths from my chickens feathers when they molt yearly. I also make Christmas ornaments for my “Christmas Chicken” themed tree. I have been doing this for years. I gather all the feathers that are in good condition, wash them just with water and a mild goat soap, then dry them completely. Sort the feathers by sizes and colors and store them in cardboard boxes. I have quite a collection. What do I do with all those feathers and egg shells year after year? I am a big supporter of recycle, reuse, and repurpose. Hope you find these chicken themed crafts something you would enjoy making for yourself and those you choose to share with.
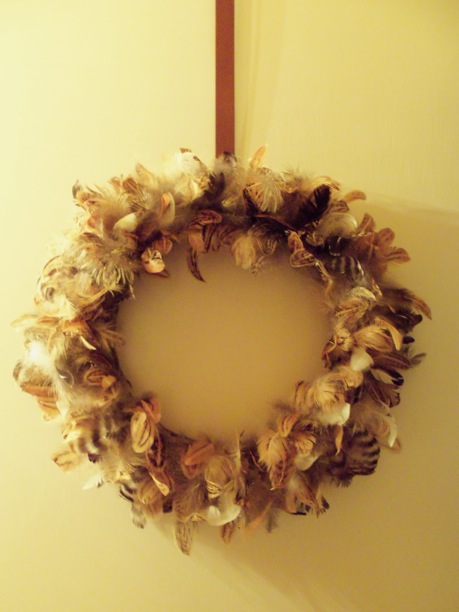
Directions for the wreaths: Simple, a little time consuming…
First purchase a Styrofoam wreath at any hobby store ( usually I get from my local Hobby Lobby or Michael’s) the desired size of wreath you wish to make. Then sort and select the feathers you want depending on the color of the wreath. I tend to make mostly multi-colored because they show the beauty of the feathers. Once you have your feathers selected then start at top of the wreath laying the feathers flat on the Styrofoam and using a glue-gun glue them into position. Laying the feathers rather flat in a circular direction with the wreath. The wreath will be flat but will cover the white Styrofoam on the face of the wreath, don’t worry about the back of the wreath at this time.
Now select feathers (pin feathers) that have the shape quill still attached to them and start pushing them into the Styrofoam to fill and give the wreath a full and fluffy appearance. This step takes the most time to actually make the roundness and full shape of the wreath. Just keep filling in so there are no bald spots on the wreath and lastly select soft, fluffy feathers to complete the look and add these to the wreath using the glue-gun again. Carefully to not mat any of the feathers you have already placed on the wreath.
To finish the wreath’s back: cover the exposed white Styrofoam with felt (a color to match the feathers) using Fabric Tack or a glue-gun again. Once made you can hang on a door or wall. I have also used the wreath laying it flat on a table top and placed a glass hurricane lamp in the center with candle. *I use real flame candle but if concerned use the flame-less candles that are now so readily available.

Directions for the Christmas eggs:
Clean and blow-out the eggs, usually I make scrambled eggs that morning for breakfast. Let the eggs dry completely for a couple of days. This is important because the paper will not stick as easily if moisture is still inside the egg.
Select the color and patterns of the tissue paper you wish to use. Generally I use holiday themed tissue paper but solid colored tissue paper is just a pretty and I have found that those holiday table napkins make good thin paper to cover the eggs too.
Cut out small, no more than 1 inch round or square shapes of tissue paper. Usually about 5 to 8 pieces will cover an egg and be rather smooth in appearance. Using a small paint brush dip into ModPodge and paint the egg partially and then lay the tissue paper over and brush more of the sealer to cover the tissue paper. Let drop between applications. You will cover a third or half of the egg, let it dry, then cover the remaining exposed eggs. Once the entire egg is covered with decorative paper let it dry for 24 hours. If you wish more of a shine or luster on the egg brush once more with a thin coat of the ModPodge. * Helpful hint and money saving idea: I use Elmer’s white glue and mix with warm water as the sealer. Test the thickness or thinnest to your liking. The gloss is just as effective. Finally add a hoop hanger to the egg, either thin ribbon, gold cord, or whatever your liking. Attach with glue and let dry before hanging on tree or stand.

Directions for the Feather Ball Ornaments:
Made with round Styrofoam balls. Purchase and select the size of ball ornaments you wish, I find that the smaller balls 2 or 4 inch round work best. The feathers give them great size with the completed fullness of the feathers. Select feather colors and sizes and start pushing the feathers into the styrofoam ball, inserting feathers with the sharp quill end, the ball will take shape and fill in rather fast. Then if more fluffy shape is desired (most likely will be) select fluffy feathers to adhere to the ball in between the pushed in feathers using a glue-gun. Finally add a hanger to the feather ball. The best simple way I find is to get color appropriated brush cleaners at the craft store and cut to length and simply push each end into the Styrofoam ball at the top. Ready to hang on your Christmas tree. *Creative idea, I add these decorations to my natural pine wreaths ( just wire them into the wreath ) and hang inside during the holiday season.
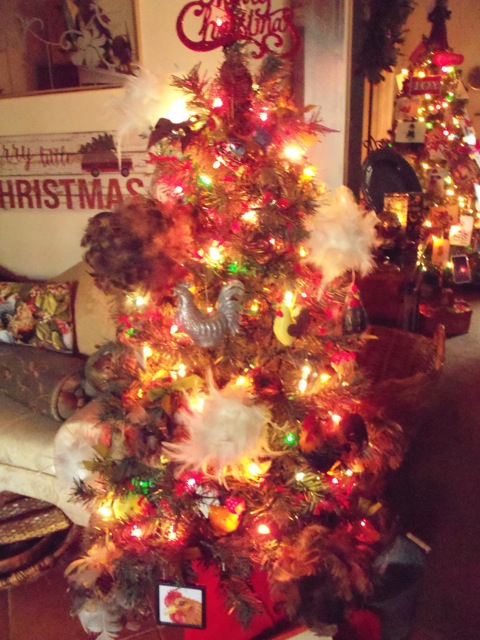
Thanks so much Nila for sharing your beautiful crafts! – And for including the instructions!
Do you have a chicken themed craft / art that you would like to share with the Community? Email me at RNickols@CommunityChickens.com
To view what else is happening at our Southwest Missouri property visit: the garden-roof coop
If you enjoy bird-watching (in addition to chicken-watching), I invite you to follow my Facebook page: Rebecca’s Bird Gardens


