Krislee Johnson
Story and photos
Clinger The Bare Backed Hen & Her Super Simple Saddle
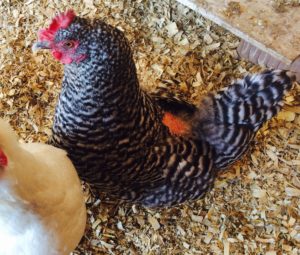
My bare backed hen named Clinger (aptly named as she loves being around people) has had the misfortune of losing feathers all winter long. Thankfully, it was not due to mites or malnutrition but the combination of not molting in the fall and repeated encounters with an overly frisky rooster had taken their toll.
In my first attempt at making a chicken saddle I decided to try a no-sew variety made from stretchy fleece. It seemed like a great option as it yielded quick results without the hassle of sewing a more complicated pattern together.
Initially, it did work but it did not stay on Clinger for long. Here you see a side by side comparison of the two saddles. The no-sew option was much too large and the material was so stretchy it afforded her an easy exit. The sewn version is slightly smaller and has light elastic bands to keep it held securely to a hen’s body.
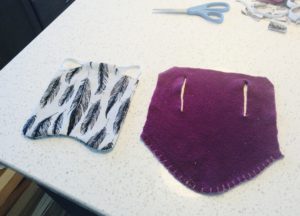
Due to Clinger’s ever increasing feather loss I had to come up with a solution and quick. This resulted in creating a super simple beginner level chicken saddle pattern. Being the novice seamstress that I am, I know if I can do it…you can too!
I elected to create a saddle resulting in two completely finished sides. If you are adventurous, you could use a different fabric for each side therefore creating a reversible garment. You could even add ruffles for the fashion addicted hen – she’d be the envy of the henhouse!
PATTERN & DIRECTIONS
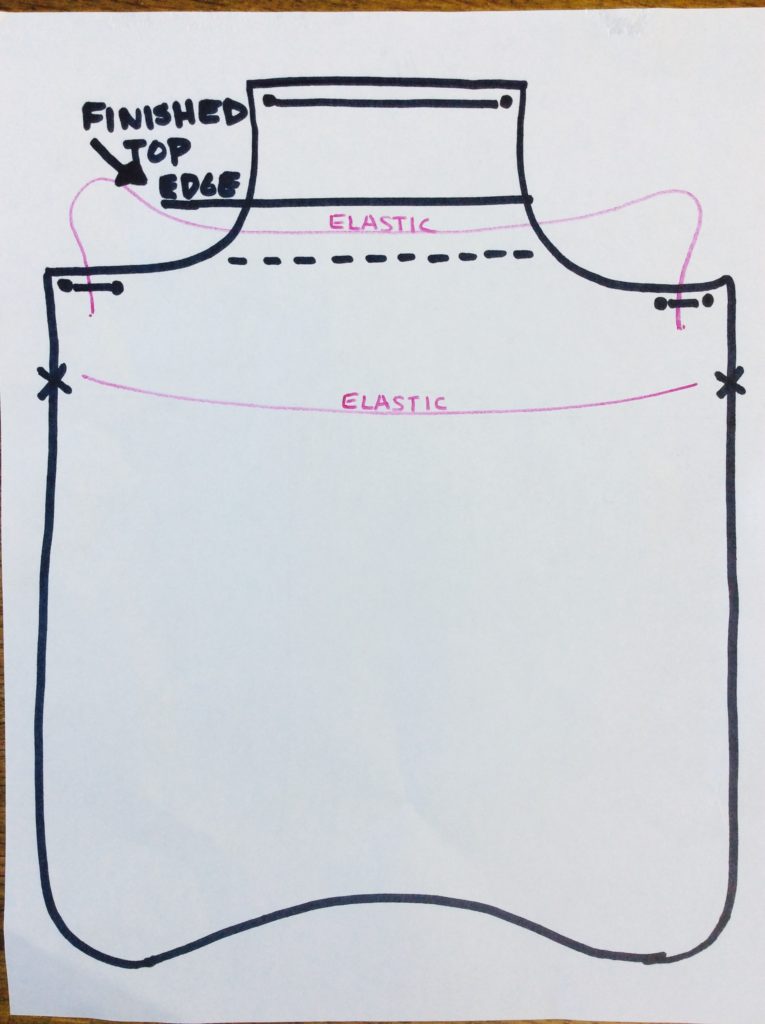
Basic Saddle Pattern
Start by cutting two identical pieces of fabric using the pattern above (print photo stretch to fit portrait on standard 8.5″x11″ paper). Choose heavy material, canvas or denim for a durable long-lasting saddle.
Cut two pieces of light-stretch elastic; one 11 inches long and the other 7 & 1/2 inches long. Lay the 7 & 1/2 inch elastic on the face side of one piece of your fabric, 1 inch down from the shoulder corner as shown. Place the second fabric piece on top, face down as shown. Pin if desired.

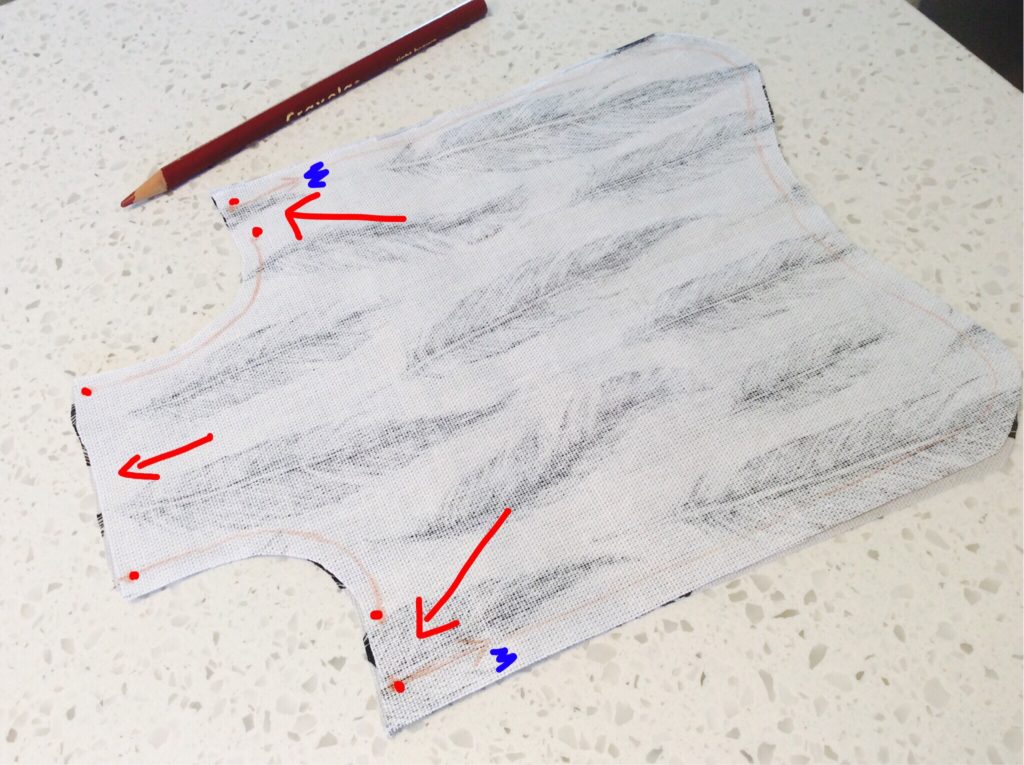
Stitch around the edges at a maximum 1/4 inch seam allowance. Leave three areas open as indicated by the red arrows and dots, double stitch the areas marked in blue to make sure the elastic ends are secured well.
Turn the piece right side out through the neck opening of the chicken saddle. Use a butter knife to open up the fabric while carefully pressing the seams out. Press with an iron if desired.


Place one end of the remaining 11 inch elastic in the shoulder opening that you left unstitched. Double stitch to secure the elastic and close the opening. Repeat on the opposite shoulder taking care to not twist the elastic band.

Fold over the neck of the saddle two times to create the finished top edge where noted on the pattern. Carefully place the elastic through this “tube” prior to stitching, making sure the elastic is NOT stitched during this process.
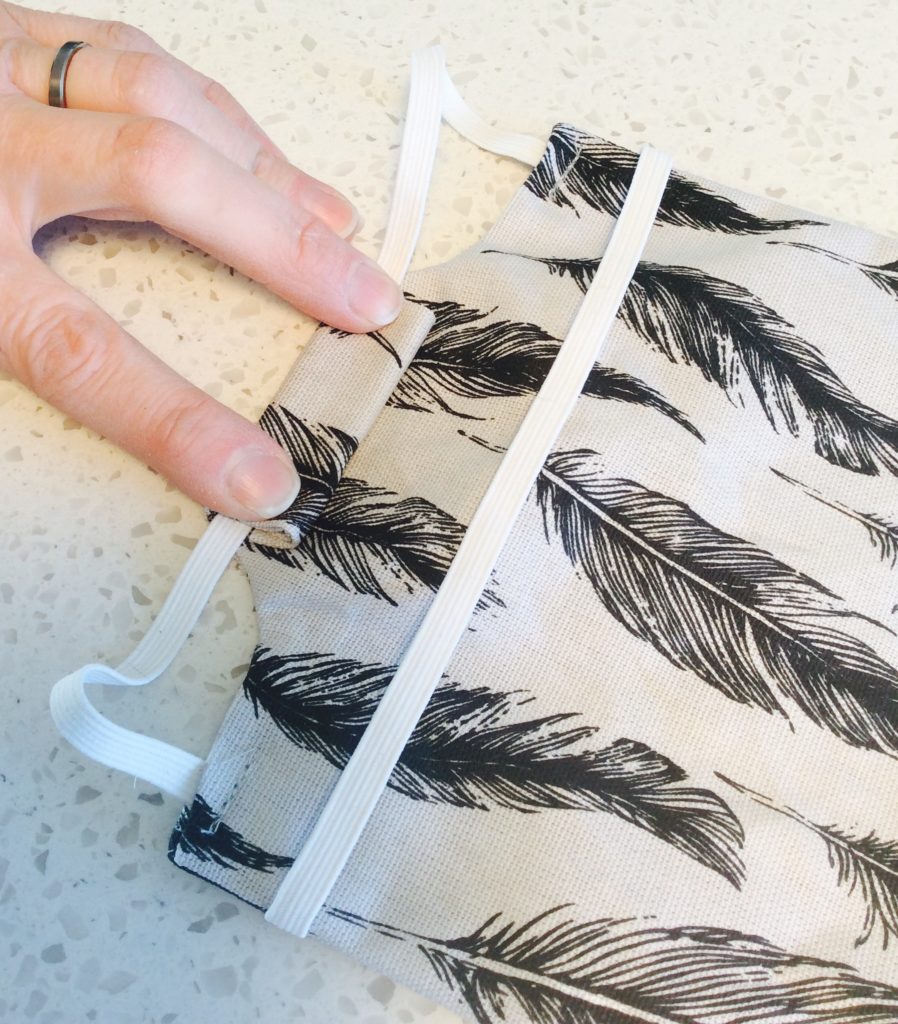
The result should be a pocket through which the elastic can freely move side to side.

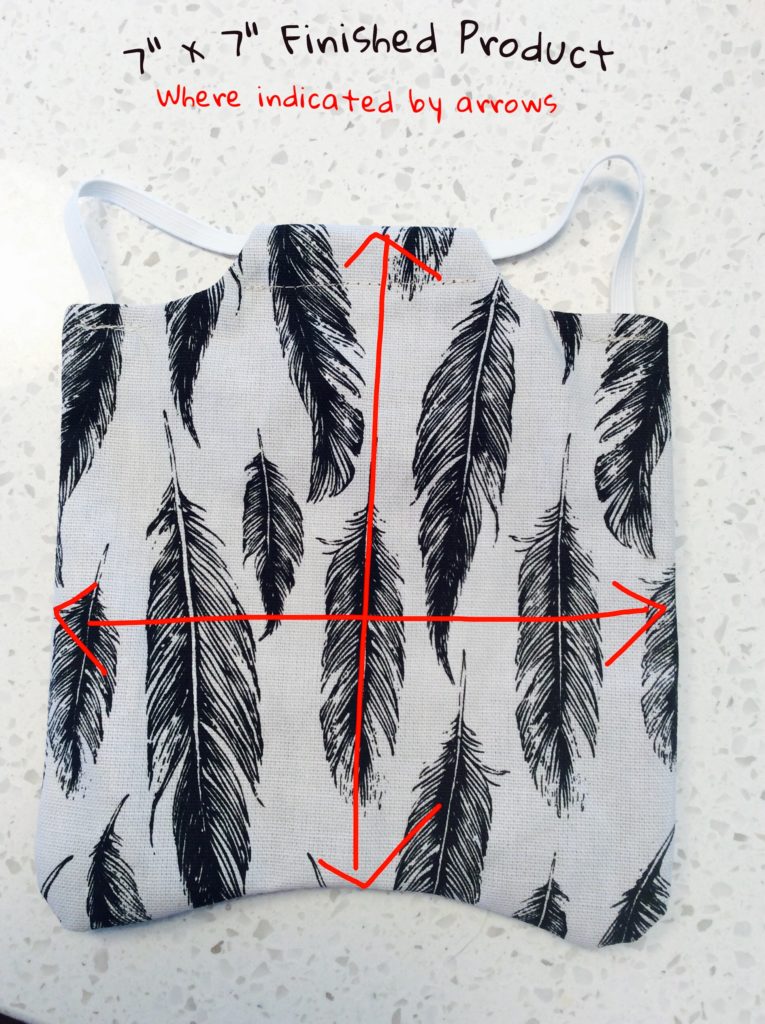
Congratulations! Your chicken saddle or apron is now complete! The finished piece should be approximately 7 inches by 7 inches as indicated in the photo below.
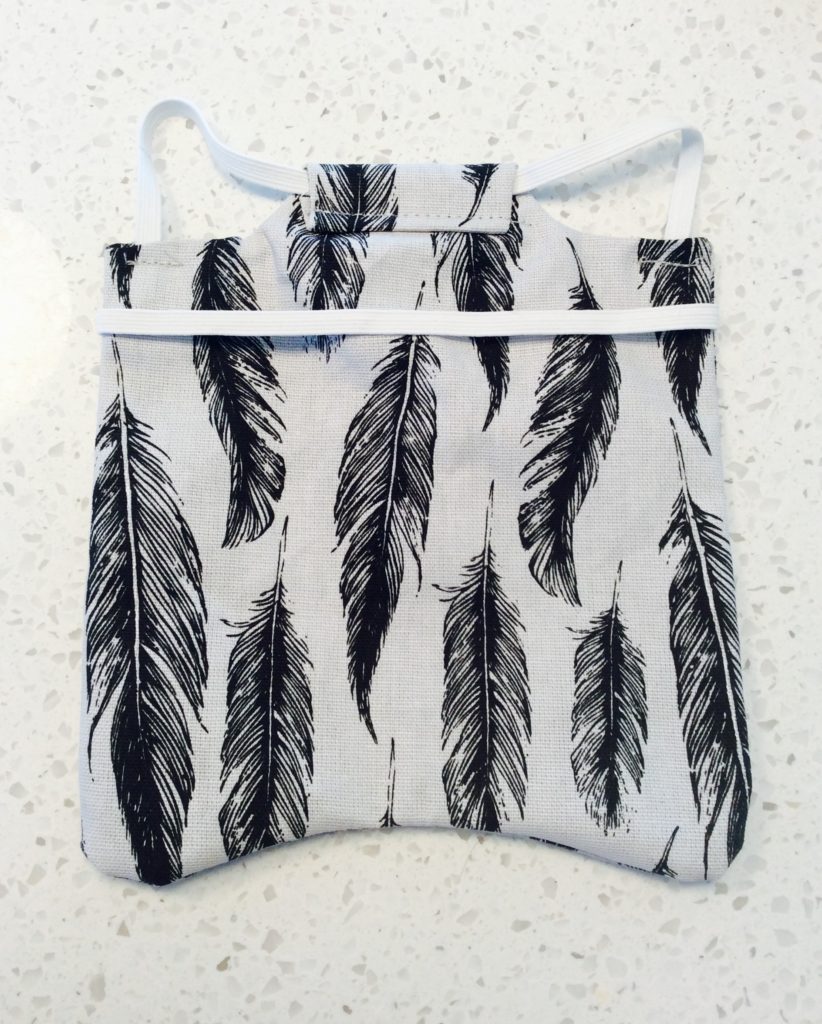 Dress your chicken as noted in the following rudimentary sketch. The elastic should not be tight, the chest strap should be placed over the breastbone avoiding the crop area which is higher up on the neck. Thread each wing through the arm bands arranging feathers around the elastic banding so the hen is comfortable.

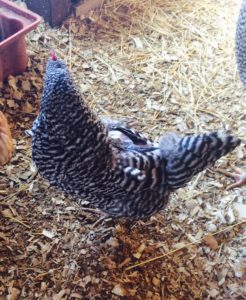
As for Clinger, I think she’s happy with her saddle…she wears it well and talk of the coop!
To find out more about life here on the farm and what I’m learning as a first time chicken keeper please visit my blog, Dirt On My Plate.


