Did you know that chickens are becoming one of the most popular pets in the US?
Their popularity has skyrocketed in recent years and it’s no wonder why. They’re child-friendly, inquisitive, make great pets and also lay eggs.
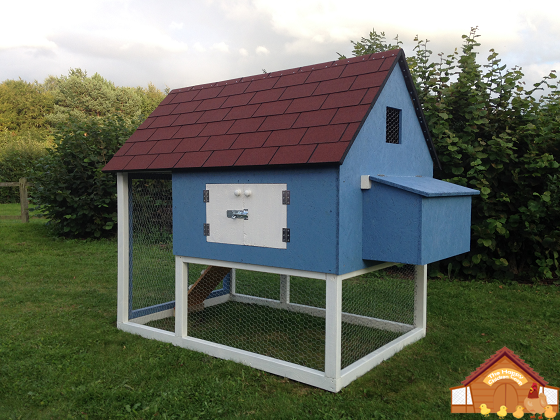
If you’re ready to join the chicken craze, keep reading and learn how to build your own chicken coop.
Step 1: Design
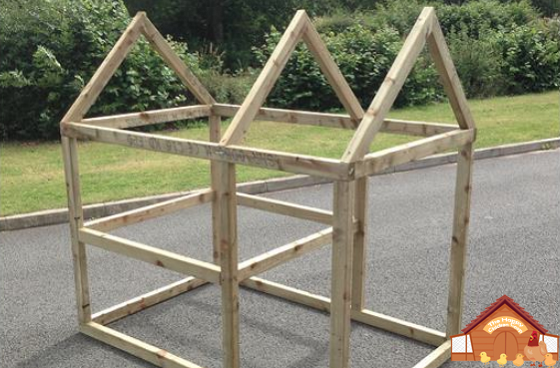
The first step you need to take for a successful chicken coop build is design.
A well-designed coop can prevent you from making mistakes and will save you money. Whilst you can design your own coop from scratch I like to take existing coop plans and then modify them to my requirements. Why?
Two reasons. Firstly I’m not very creative so I struggle to plan for nothing! And second, you can learn from other people’s mistakes.
Look at their coops and think about what works and what doesn’t work. Think through this, improve their plans and build an even better coop for your chucks.
If you’re looking for existing chicken coop plans, these coop plans will get you started.

Step 2: Build Materials
Once you’ve found the coop plan which you’re going to build, the next key step is deciding which type of build materials you’re going to use.
It can be very tempting to use cheaper materials to save money. In my experience, this almost always ends up costing more in the long run.
An example of this would be to use cheaper wood (reclaimed fiberboard), instead try to use a treated, durable wood such as pine. Remember, if you have the budget, use quality materials that are going to pass the test of time.
Step 3: Locating the Coop
A key, but often overlooked step, is deciding where to place your chicken coop once it’s built. I’d recommend planning this as soon as possible.
If you place your coop in a bad location (for example on an overexposed hilltop), no matter how well made it is, you’ll get rot.
Ideally, you’ll want to place your coop somewhere that provides it protection from the elements; under tree cover is typically effective.
However, this isn’t always possible. Where this isn’t possible you should alter your coop design to take into account the local elements. For example: in cold climates, you can use south-facing windows, this will provide natural sunlight and warmth into the coop.

Step 4: Building Phase
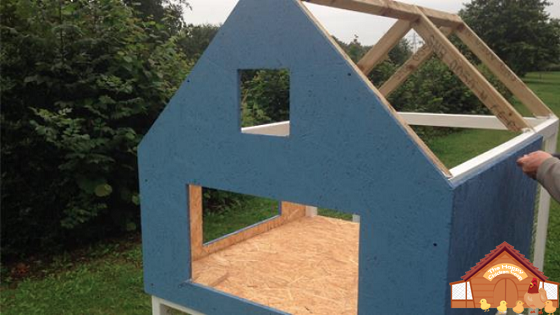
So you’ve finalized your design, ordered all your materials and even found out where to place your coop once it’s built, it’s now time to start building your coop.
If this is your first DIY project/coop build I would recommend buying some scrap wood to perform test cuts on.
This way if you make any mistakes it’s only on the test wood and you aren’t wasting money on expensive materials.
Make sure to take your time, and my single best piece of advice is to measure everything twice and only cut once!

Step 5: Maintenance/Follow Up
The final key step to building your chicken coop only begins once the build is actually complete! It is, of course, maintenance.
Even a solid, well-built coop will need maintenance from time to time.
Without regular maintenance, your coop will be susceptible to rot and parasites. However, maintenance doesn’t have to be an onerous task!
You can perform an annual check on your coop; I tend to do mine in the autumn. You should be checking for any signs of rot, cracks or leaks and repair where necessary.
I hope you found the article enjoyable and I wish you the best of luck with building your own chicken coop!


2 Comments
What do you suggest for Raccoons that burrow under the wire at night and leave nothing alive by morning?
Robert, There are several steps you can try, depending on how your coop is set up. Bury hardwire cloth two feet down around the coop. Or put down a coop floor of hardwire cloth and cover it with deep bedding. Losing your flock to raccoons is hard!